
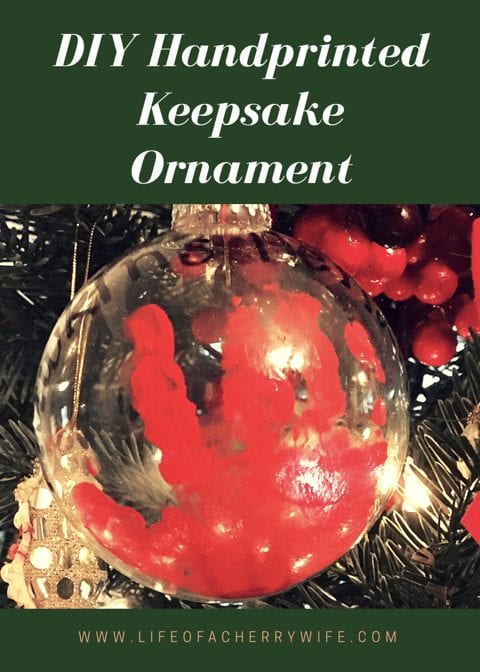
‘Tis the Season and the holidays are here again! If you are crunching all holiday activities and trying to get them all done like me, pour a glass of wine because this one is pretty easy to do and you can have this keepsake ornament in your family and on your Christmas tree for many years to come. Don’t forget you can make many of these and make them for the grandparents, relatives or anyone with a Christmas tree! It’s super fun, easy to do, and a keepsake for how little our babies used to be. 🎄
How Do I Make a Keepsake Ornament?
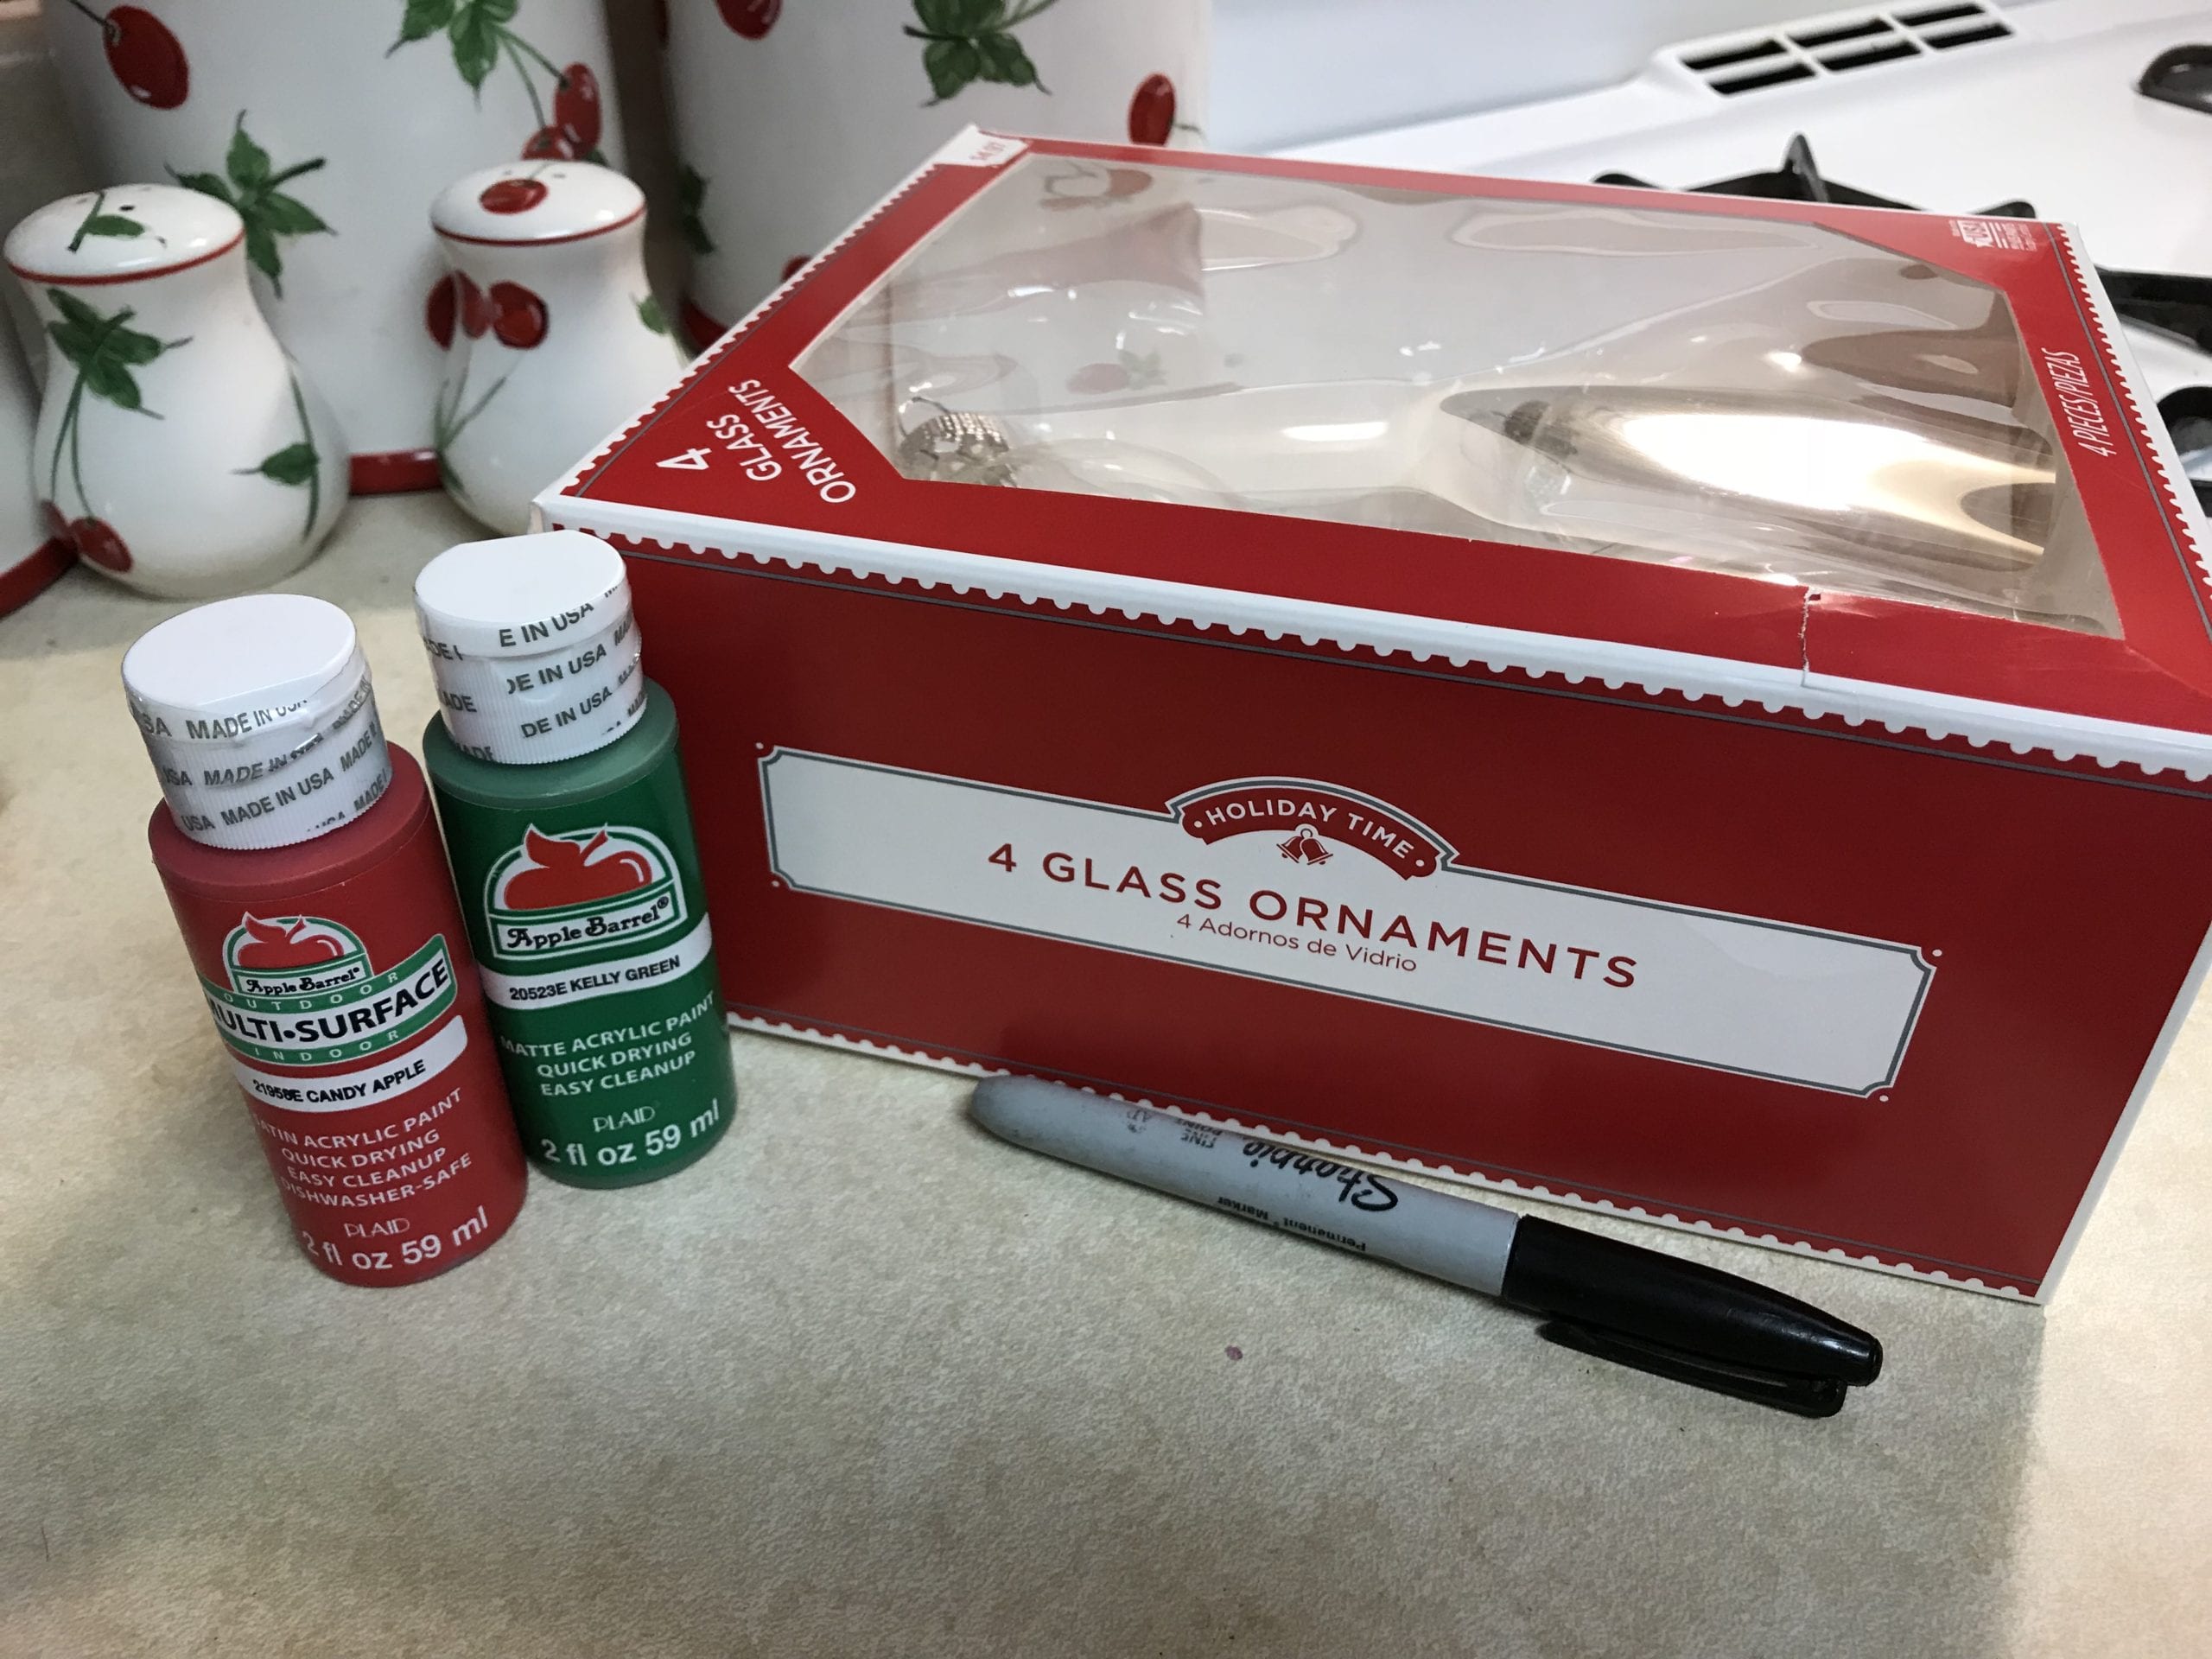
Items Needed:
- Glass ornament balls
- Acrylic paint
- Sharpie
- Paintbrush (sponge can do too)
- Paper plate (for easy cleanup)
- Paper towel
- Makeup remover
Keepsake Gift For Grandparents
If you have a toddler or or kid who you think will not cooperate and sit still, don’t fret. I did this all during nap time, lol! 😂 Hey, whatever works, right? So let’s get started.
How To Make a Memorable Christmas Ornament
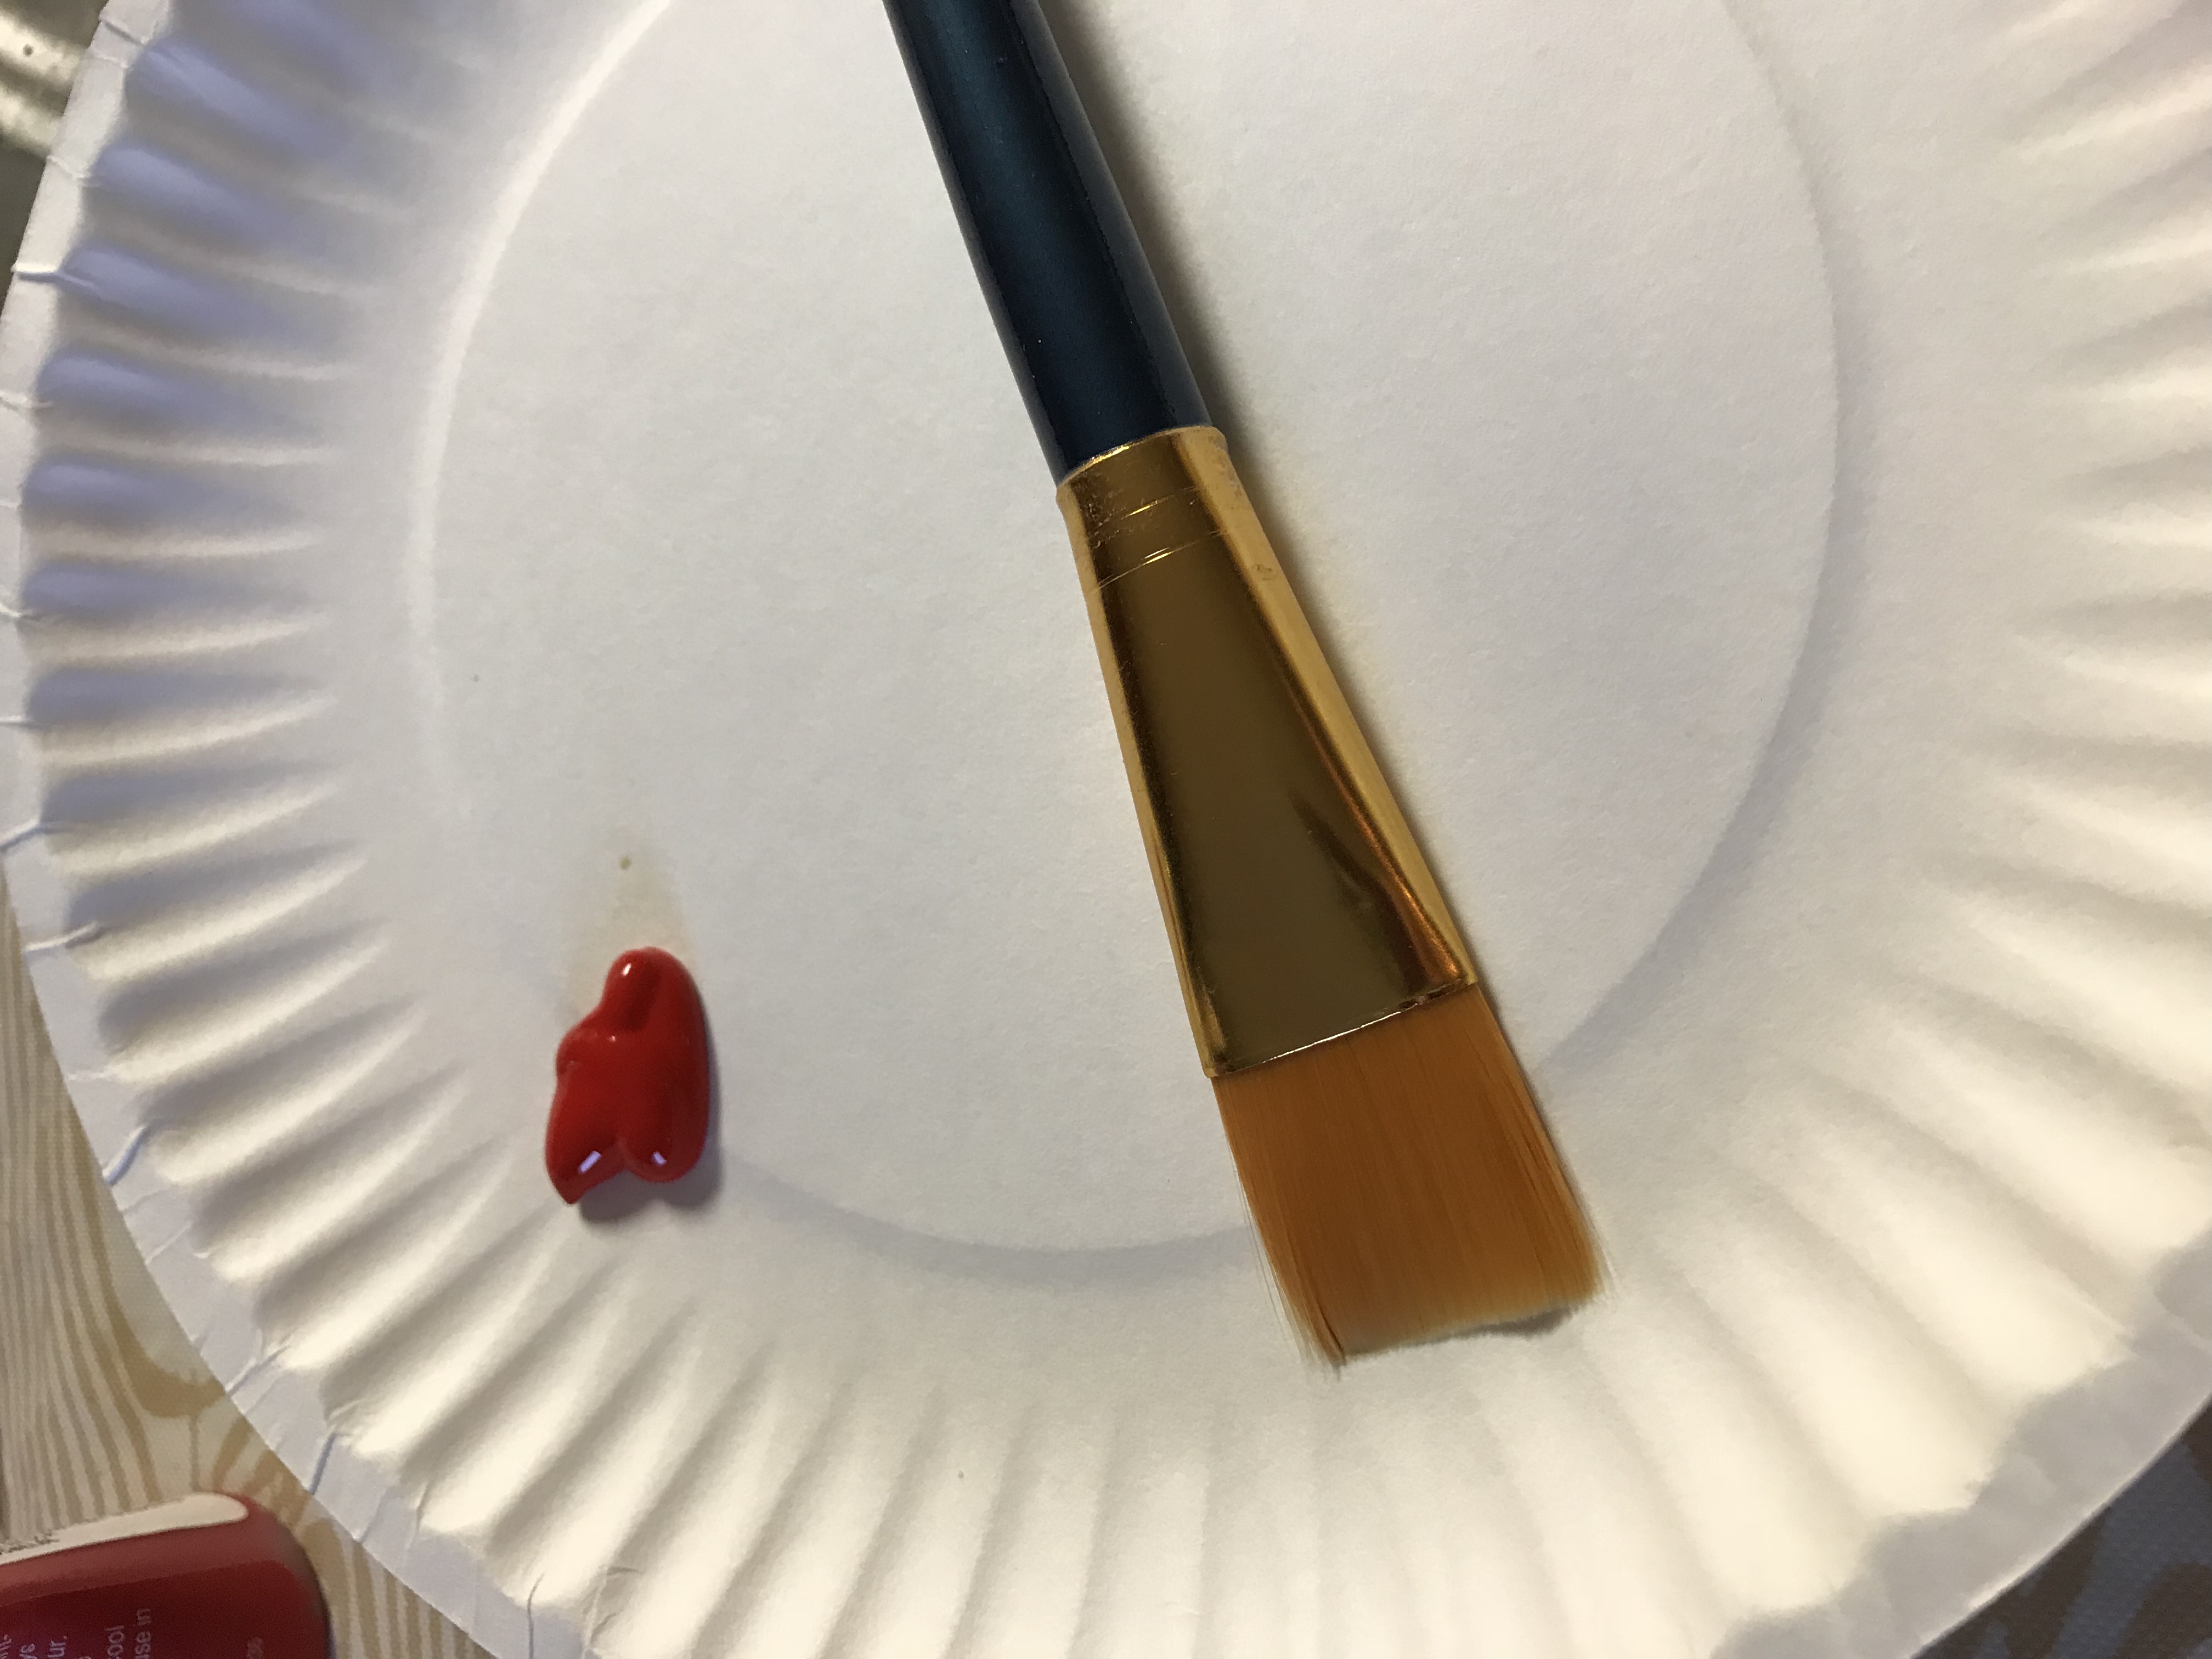
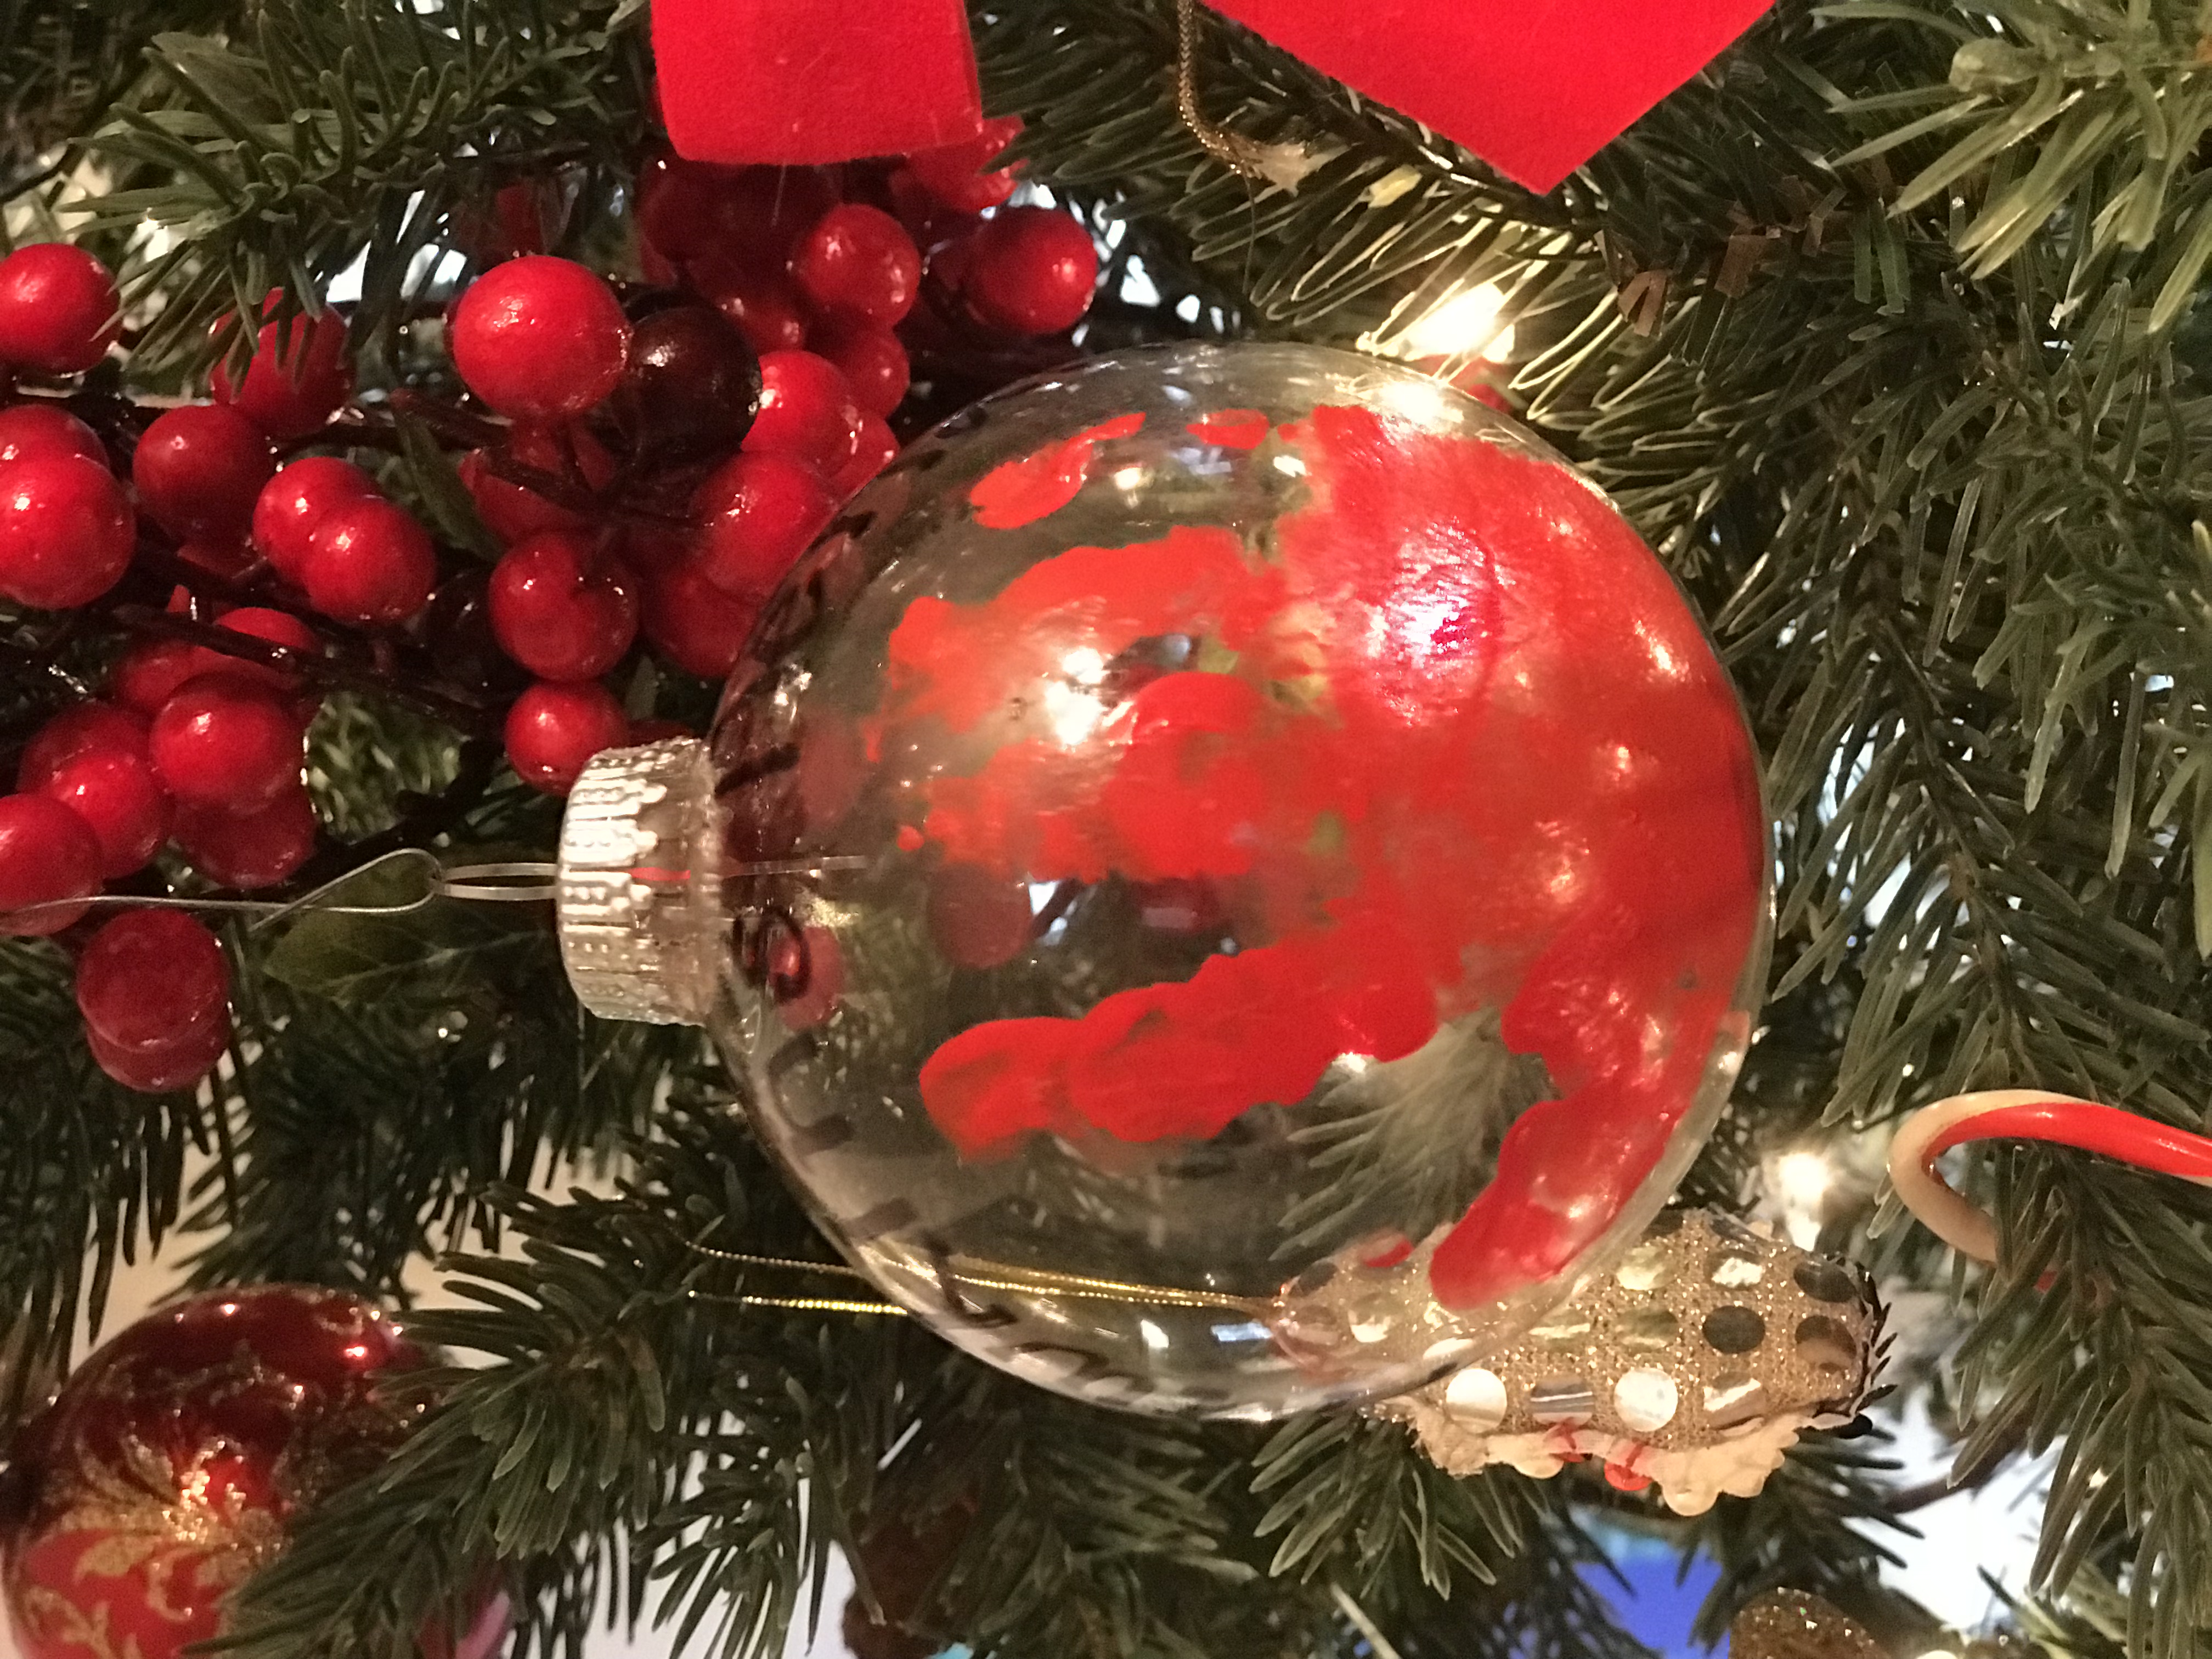
First, I grabbed the paper plate and paintbrush. Then, I poured a little bit of paint on the paper plate and dabbed the paintbrush a couples times in it, making sure it was thoroughly coated but not too gunky. Also, I put the paper towel on my son’s chest just in case this holiday ornament making would get a little messy. Thankfully, it didn’t.
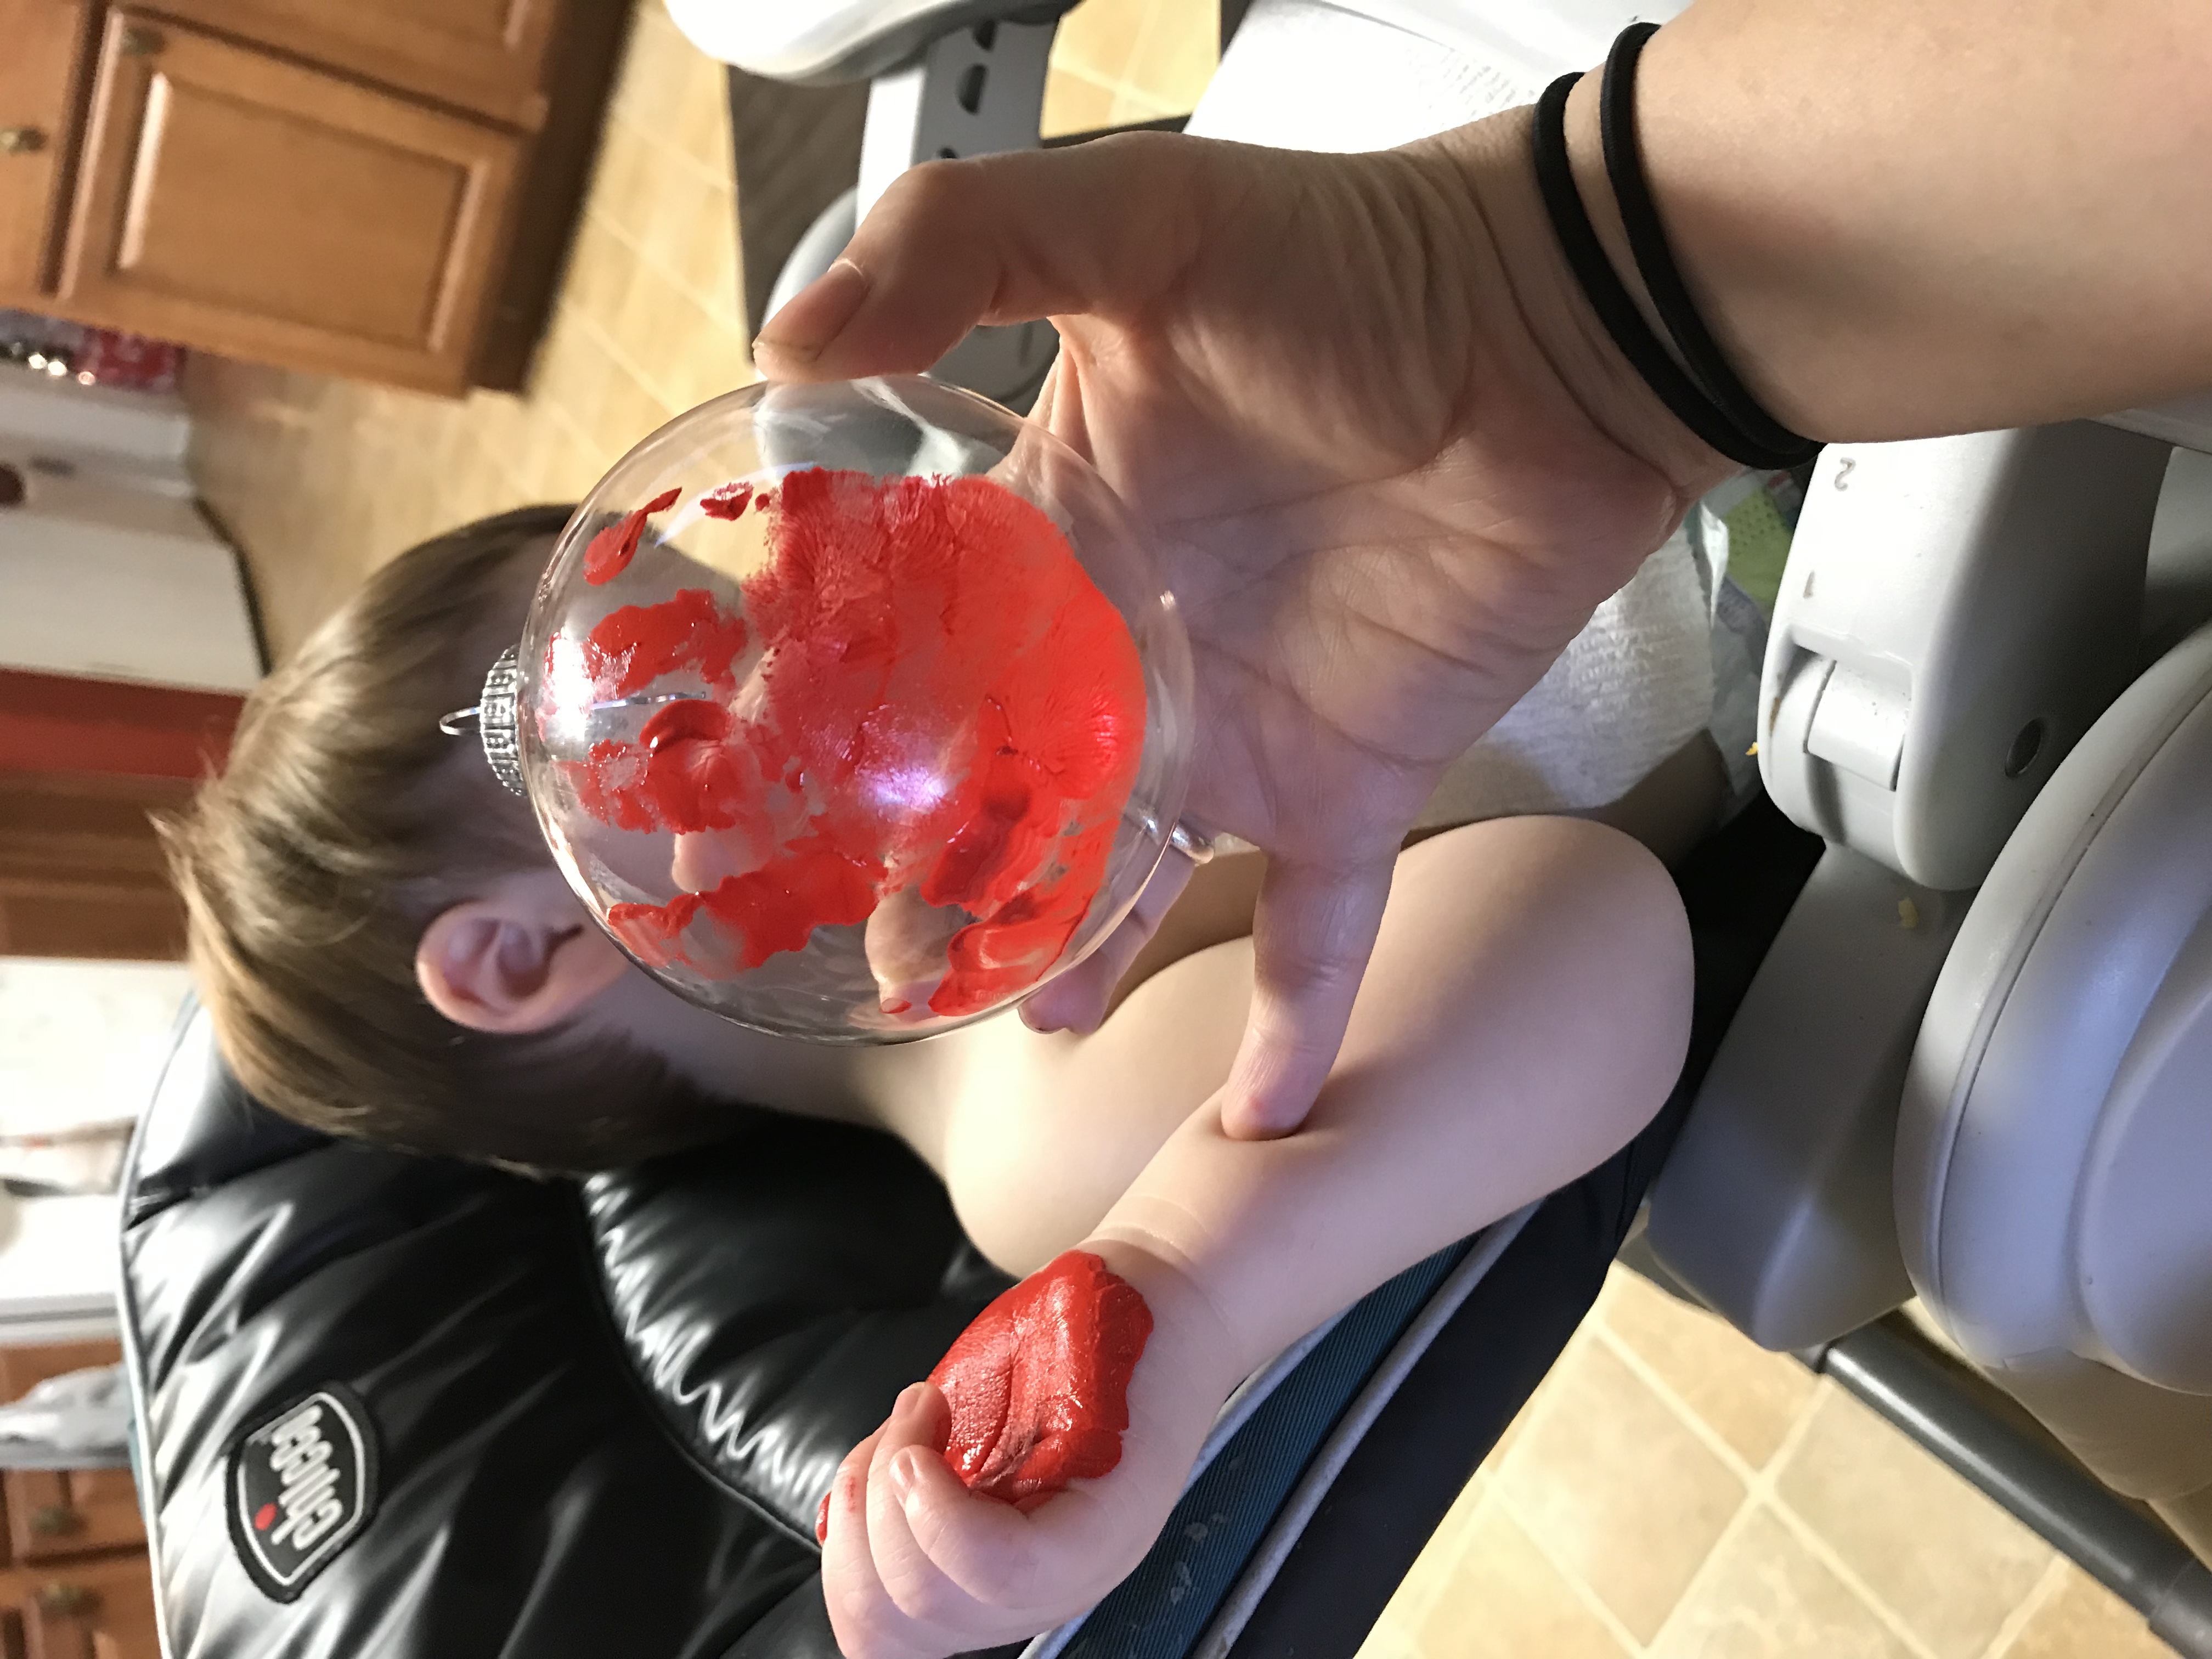
After everything was set up, I was ready to paint his hand with the red acrylic paint. I grabbed his hand, opened it and started painting it with the paintbrush. Lol, he didn’t even flinch! I grabbed his freshly red painted hand and then carefully made a hand print. After the print was on, I placed the ornament on a secure spot on the table next to me where I knew it wouldn’t roll around and paint and get over everything.
DIY Ornaments
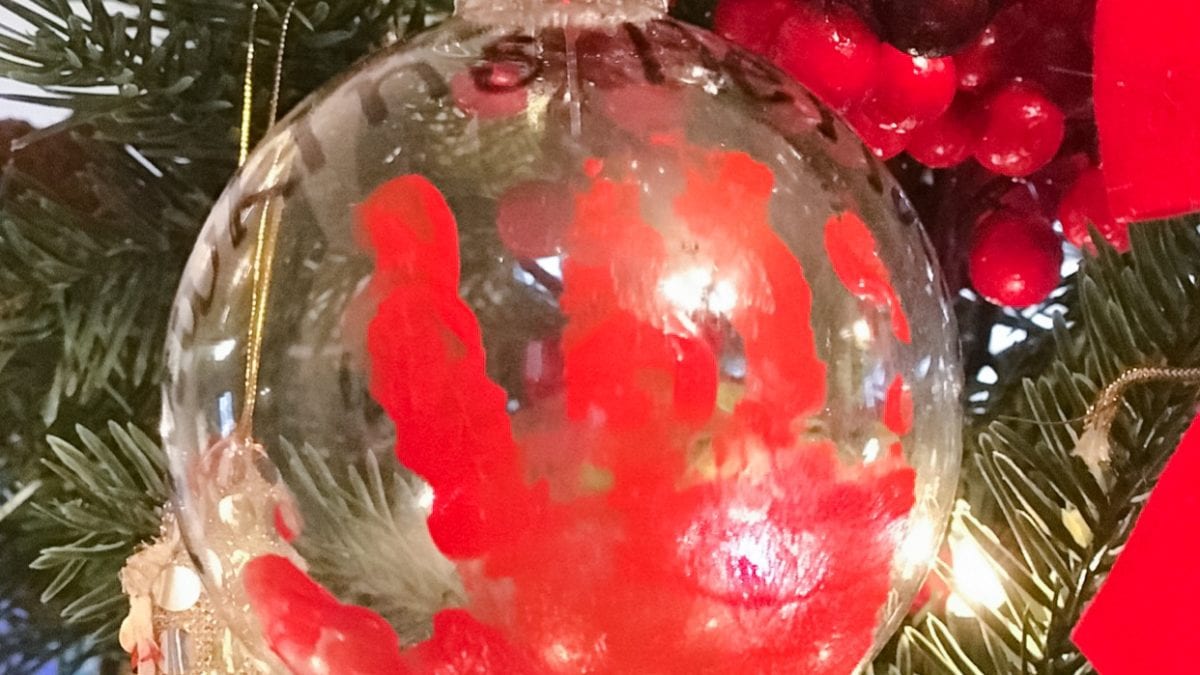
Meanwhile, I grabbed the makeup remover wipe and cleaned the paint off his hand. The wipe can also be used to wipe a tiny smudge on the ornament just in case you mess up. Once the painted ornament dried, I grabbed a sharpie and decorated the ornament with what I wanted to write on it, which was his name and the year.
As you can see in the pictures below, it was pretty easy! And once it was dried, on the tree it went! I hope you enjoyed this quick little tutorial on how to make this keepsake hand painted ornament. It will be on our tree and hopefully yours for many years to come!
These are also great for grandparent gifts, or baby’s first ornaments!
Related Articles:
- 5 New Family Christmas Traditions
- Christmas Stocking Stuffers for Selena Fans on Amazon
- Fall Family Bucket List
- Creamy and Delicious Flan
Disclosure: This post may contain affiliate links. Please read my disclosure.

Nap time is the best time to be creative! LOL
Author
Yes it is! 100% lol. 🤗
Very creative and unique!